
Our Process
How We Build a Court, Step by Step
From bare dirt to first serve, this is how we build a post-tension concrete court, filmed on our own job sites around Las Vegas.
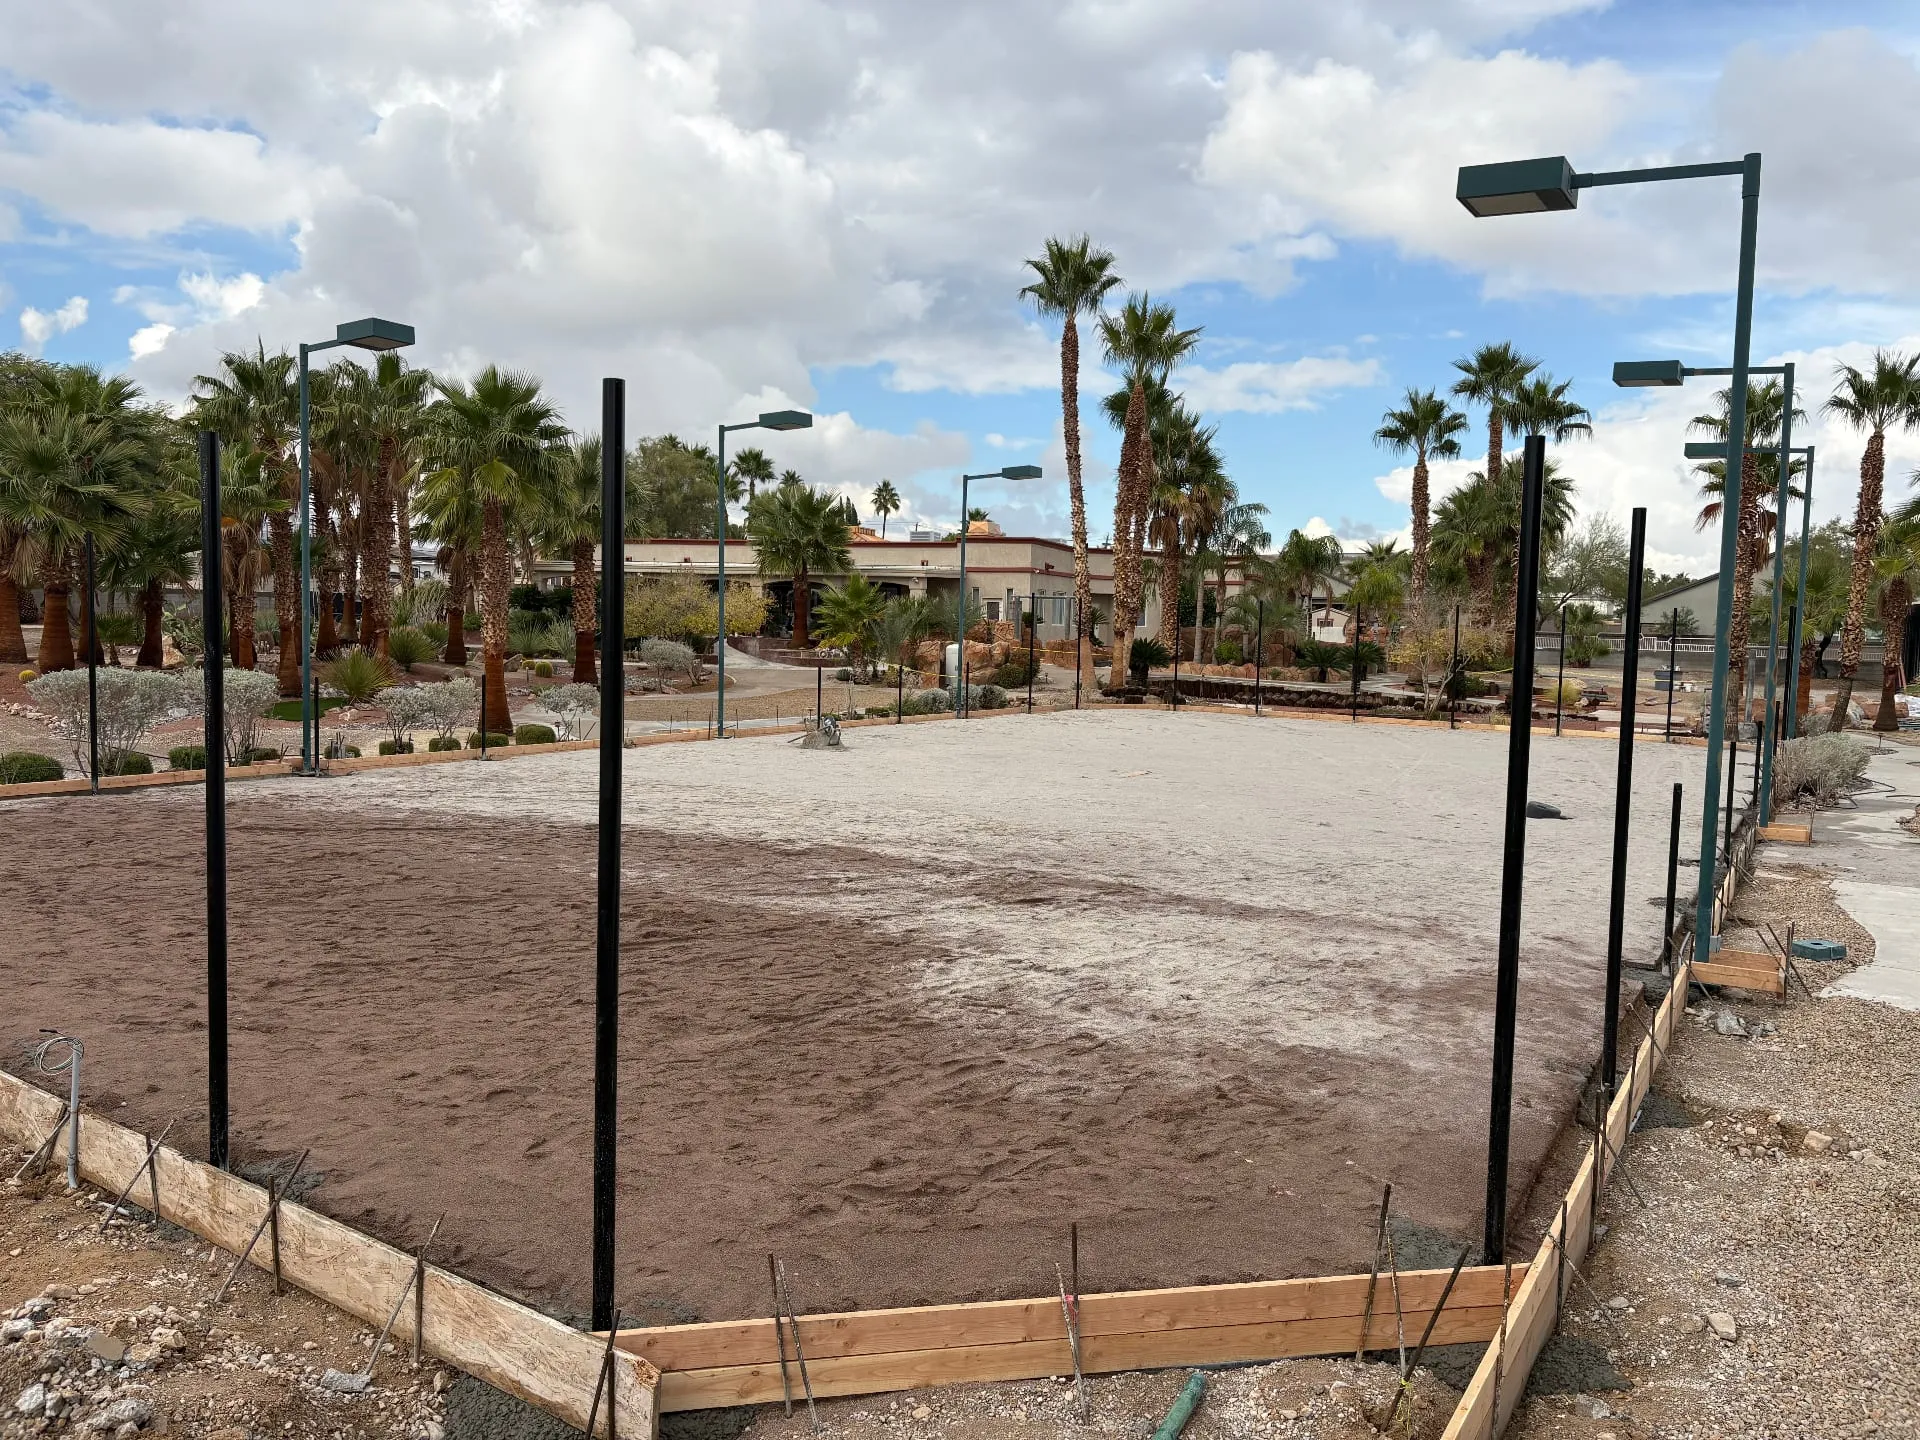
Forms and fence posts in place before the pour, Las Vegas. 1Step 1 of 9
Prepare the site, forms, and fence posts
Every court starts below the surface. We grade the base, set the wood forms that shape the edges of the slab, and set the fence posts before any concrete arrives.
Pulling concrete over the post-tension cables on a tennis court pour, Las Vegas. 2Step 2 of 9
Place the concrete over post-tension cables
The pump hose lays concrete over a plastic vapor barrier and a grid of post-tension cables, and the crew pulls it into place by hand. Post-tension slabs skip the saw cuts a standard slab needs, which is why we build every tennis court this way.
Screeding the slab, with the post-tension grid still visible in the foreground. 3Step 3 of 9
Screed the slab to grade
Long straightedges strike the concrete off flat and on the planned slope, so rain drains off the finished court instead of pooling on it.
Power troweling the fresh slab. Cable tails stick out of the forms in the foreground. 4Step 4 of 9
Power trowel the surface
Once the slab can carry a machine, a walk-behind power trowel closes and smooths the surface. The steel tails sticking out of the forms are the ends of the post-tension cables.
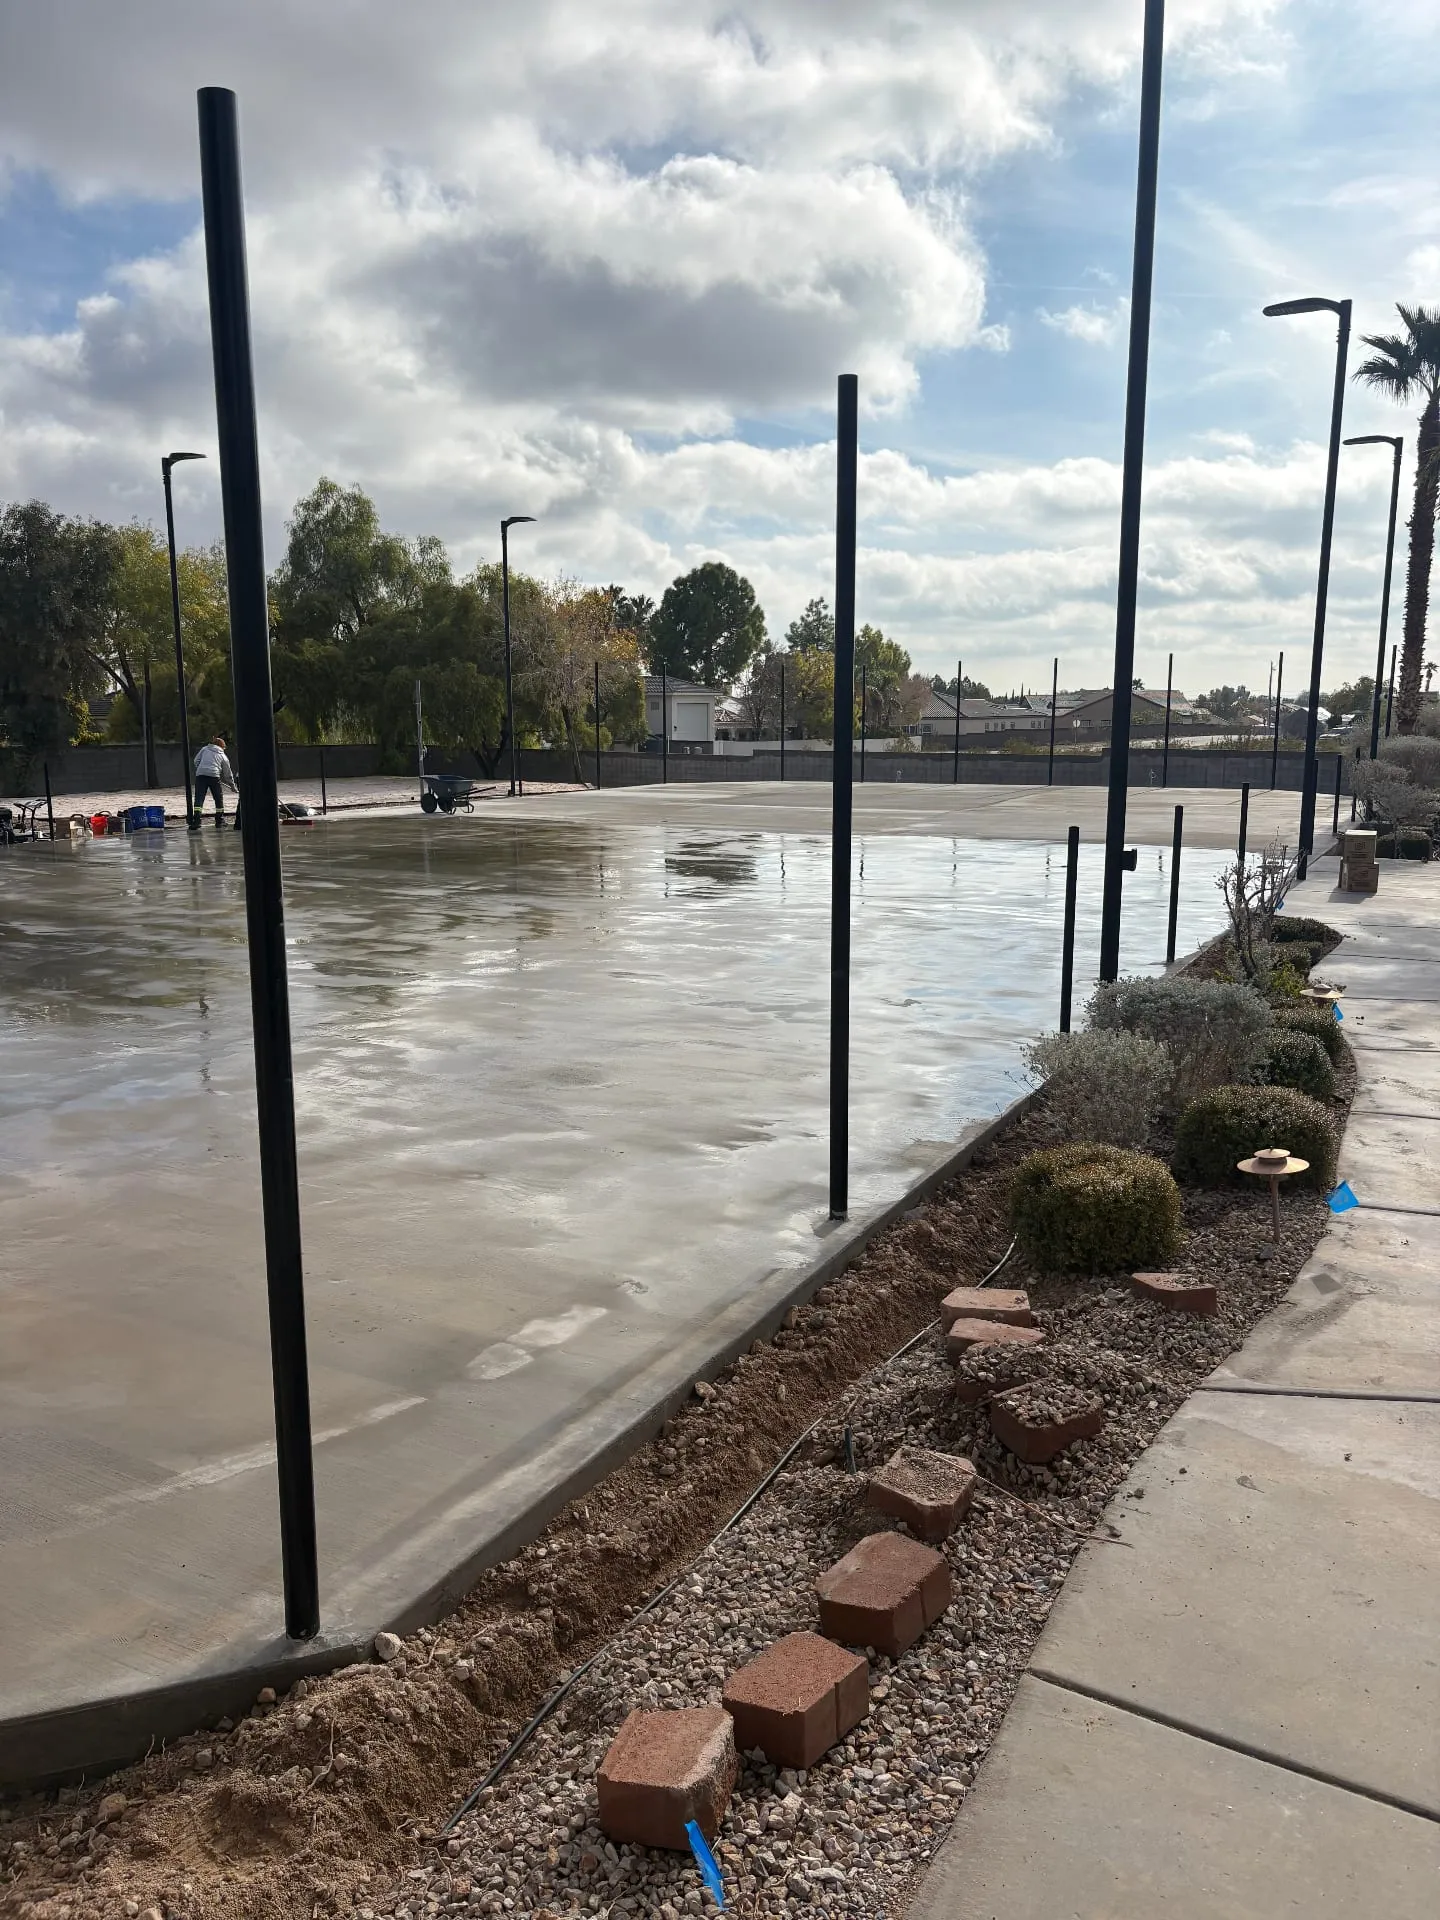
A new slab curing between the fence posts, Las Vegas. 5Step 5 of 9
Stress the cables and let the slab cure
A few days after the pour, the cables are stressed with a hydraulic jack, which squeezes the slab together so it resists cracking. The slab then cures for about 28 days before any coating goes on.
Squeegeeing a blue acrylic color coat. 6Step 6 of 9
Apply the resurfacer and color coats
We squeegee on a sanded acrylic resurfacer to build texture, then the pigmented color coats. For a new court we recommend two coats of resurfacer and two coats of color. It is the same system we use to resurface older courts.
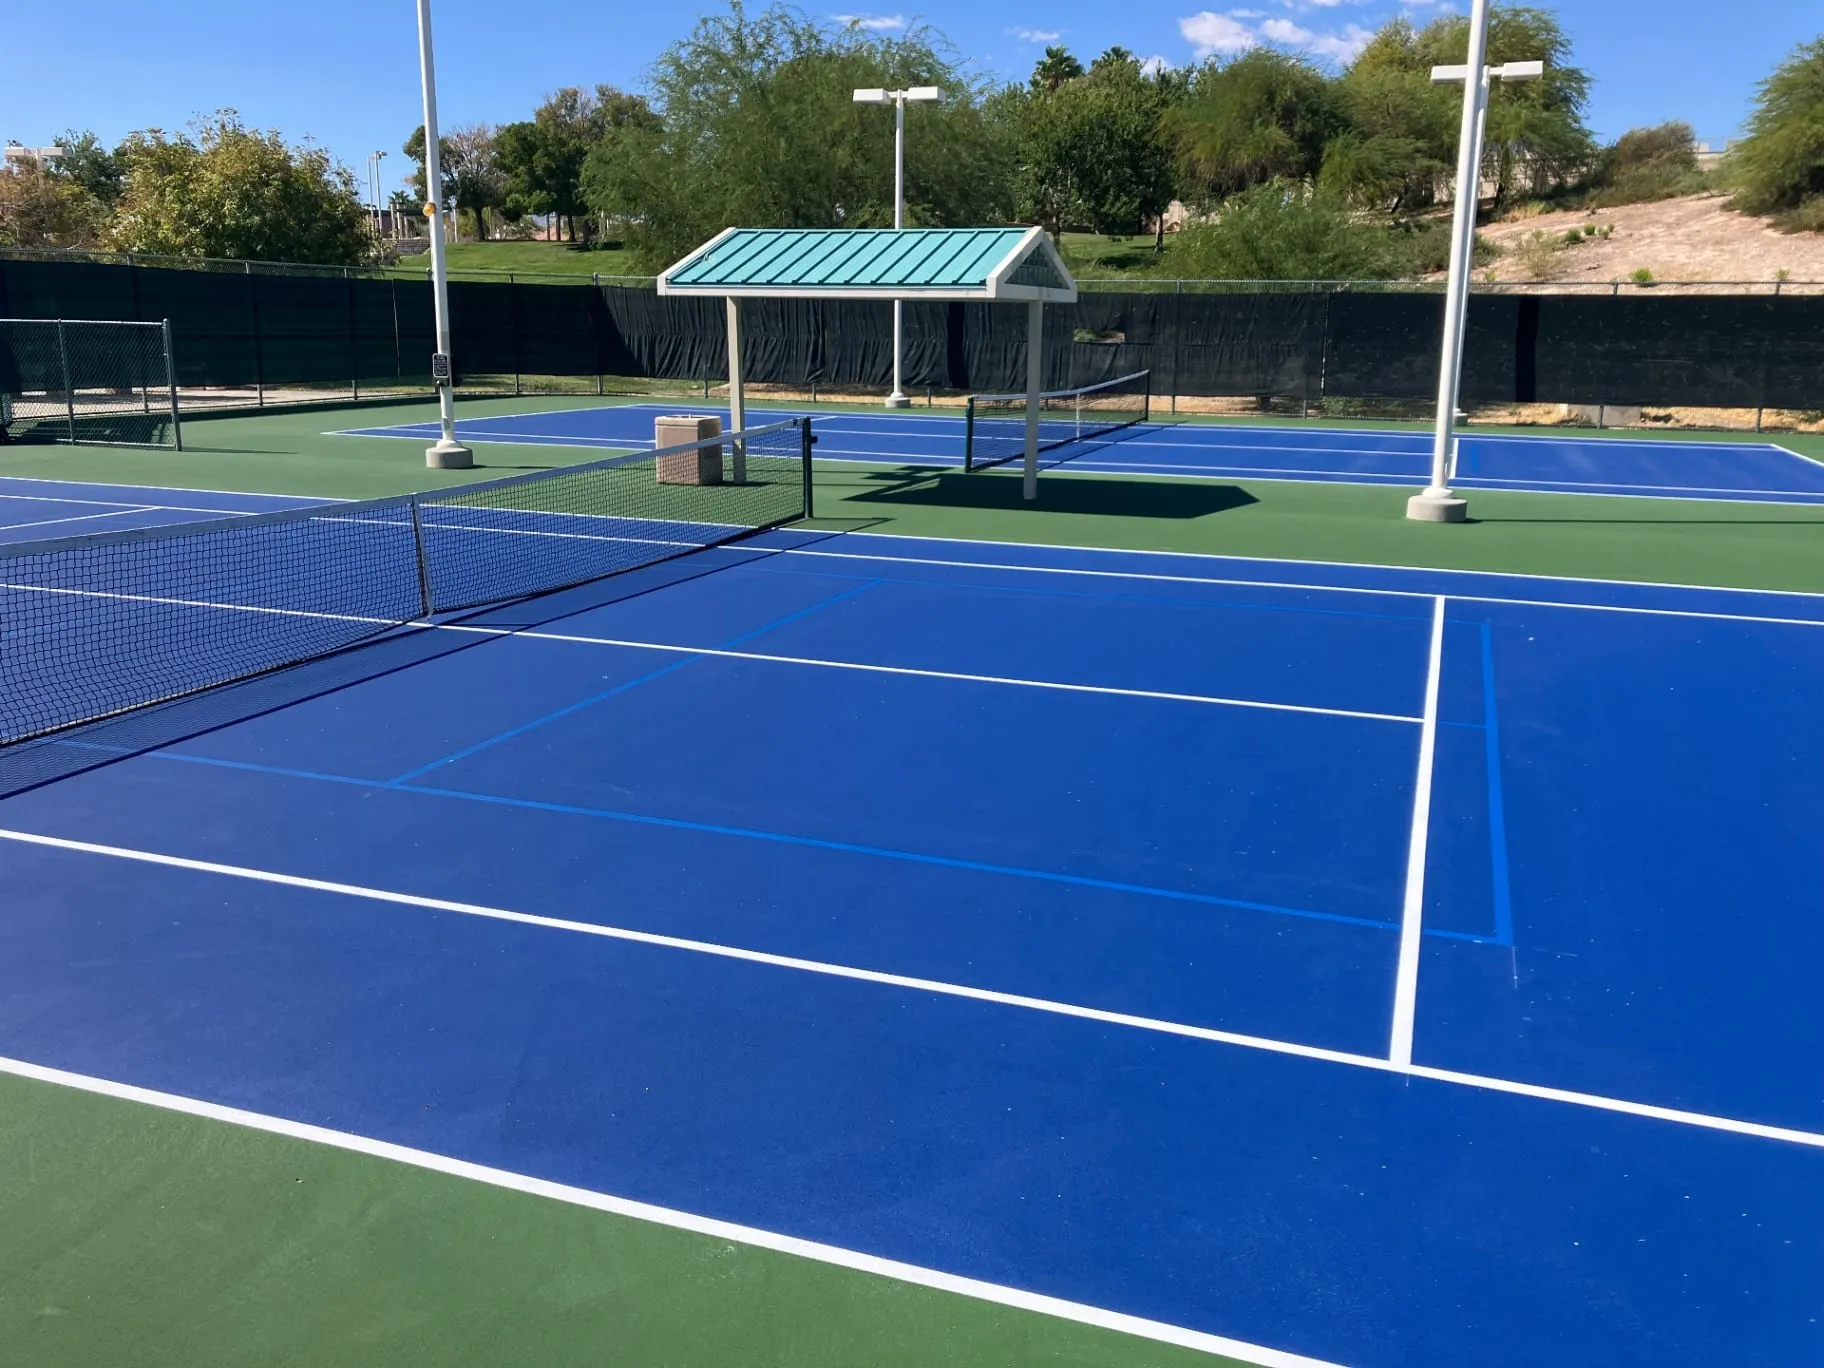
Tennis and pickleball lines on one court, Las Vegas. 7Step 7 of 9
Lay out and stripe the lines
Lines are measured to regulation, masked, and painted on top of the color coats. On a multi-sport court we can blend the pickleball lines in or run them in a contrast color. More on court line striping.
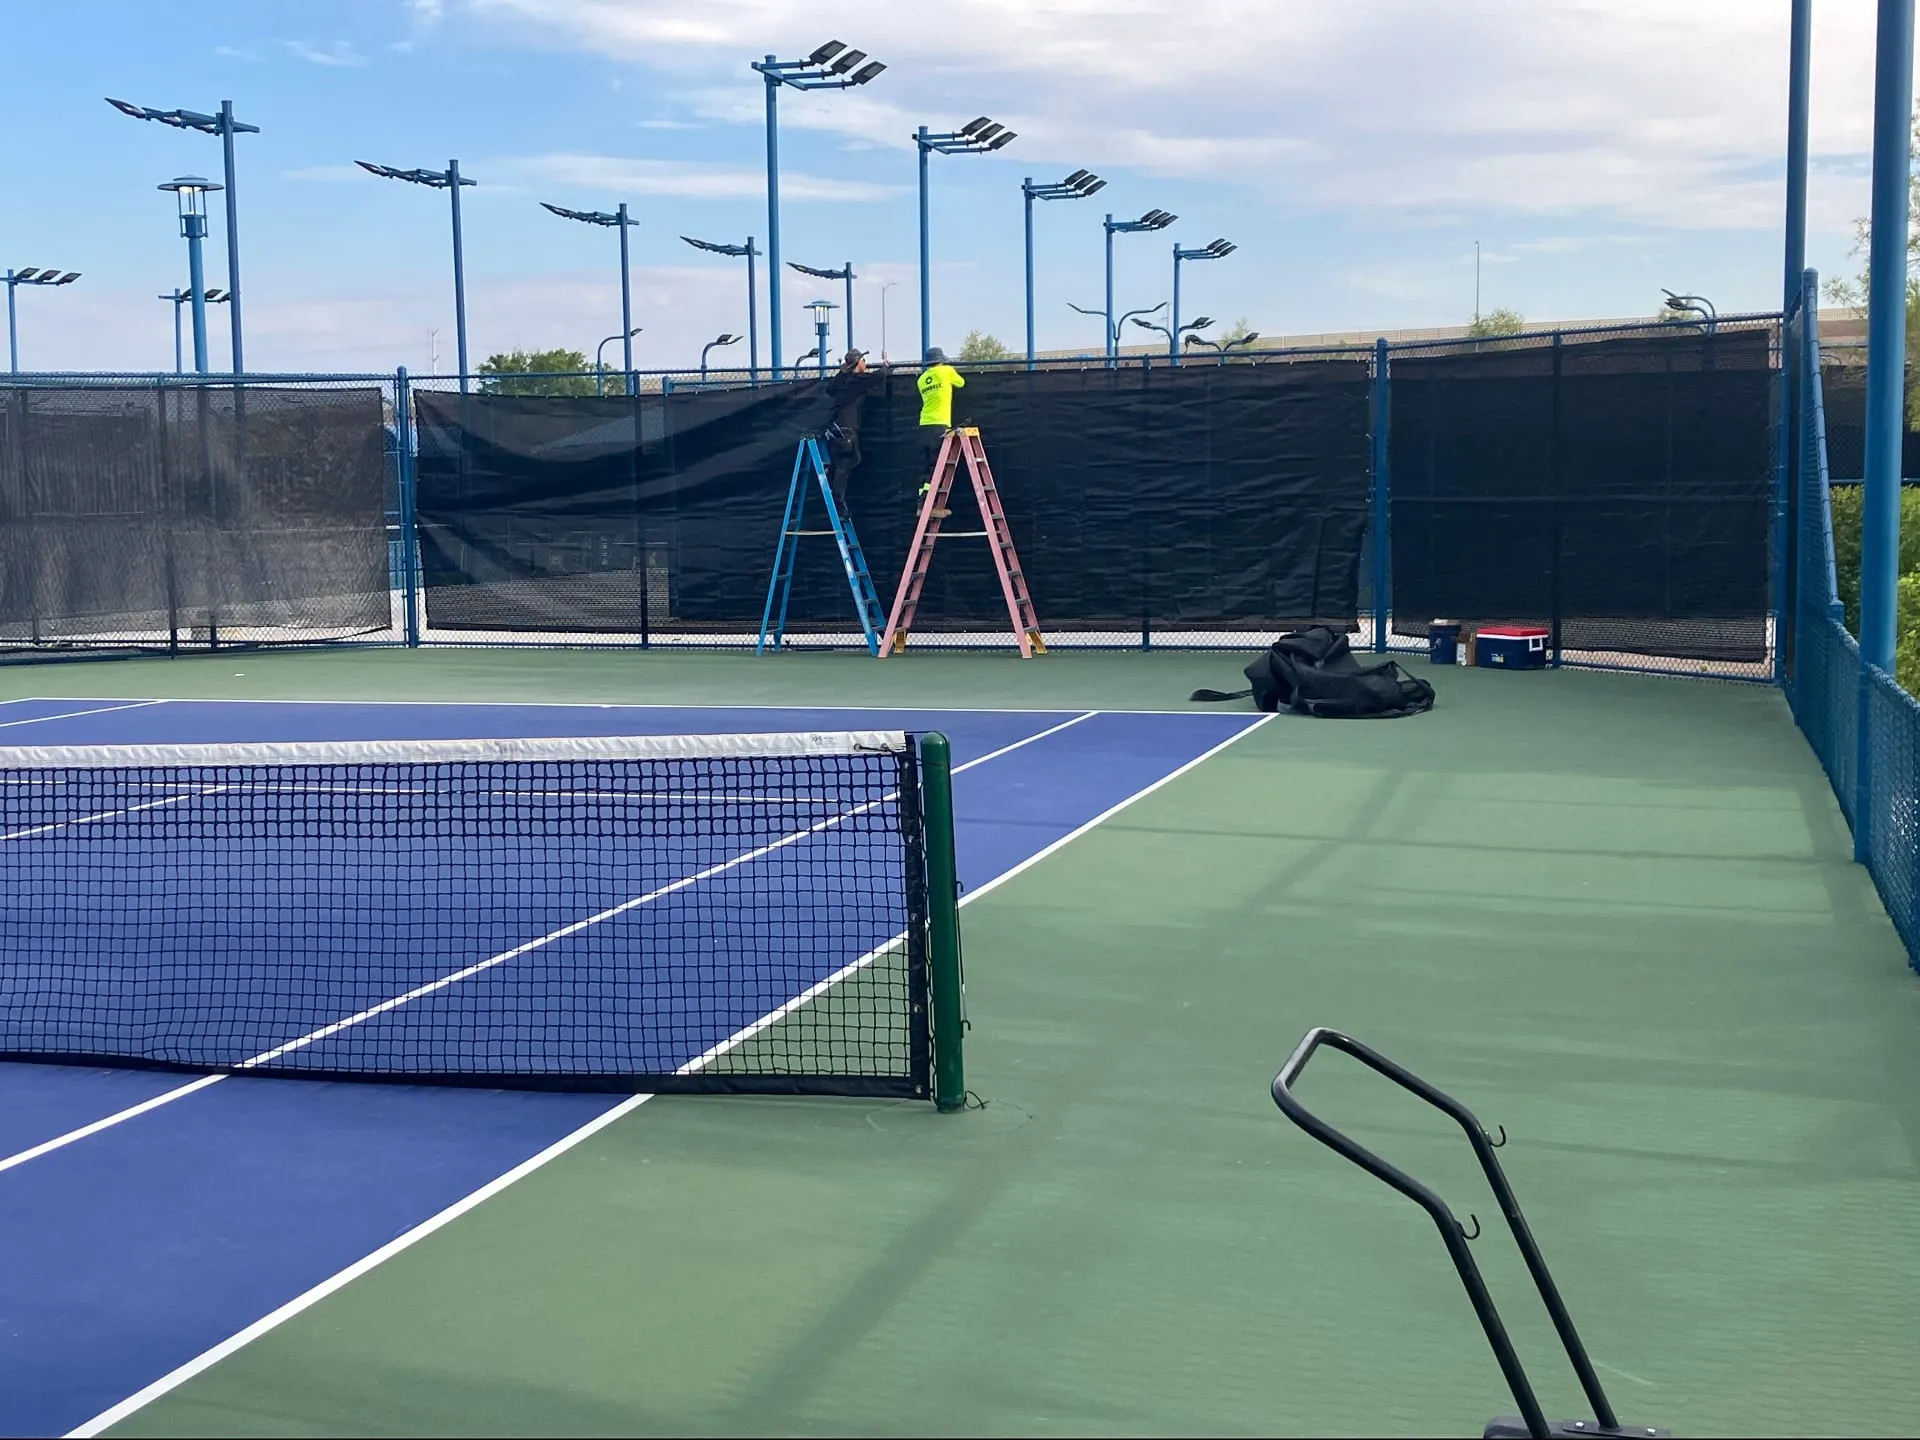
Hanging windscreens on a finished tennis court, Las Vegas. 8Step 8 of 9
Hang the fencing, windscreens, and nets
With the surface finished, we hang the chain-link fabric, windscreens, and nets. We are licensed for concrete, fencing, and surfacing, so one crew carries the job from dirt to the last net strap.
Before and after: 10 courts resurfaced at Lorenzi Park, Las Vegas. 9Step 9 of 9
Play on a court built to last
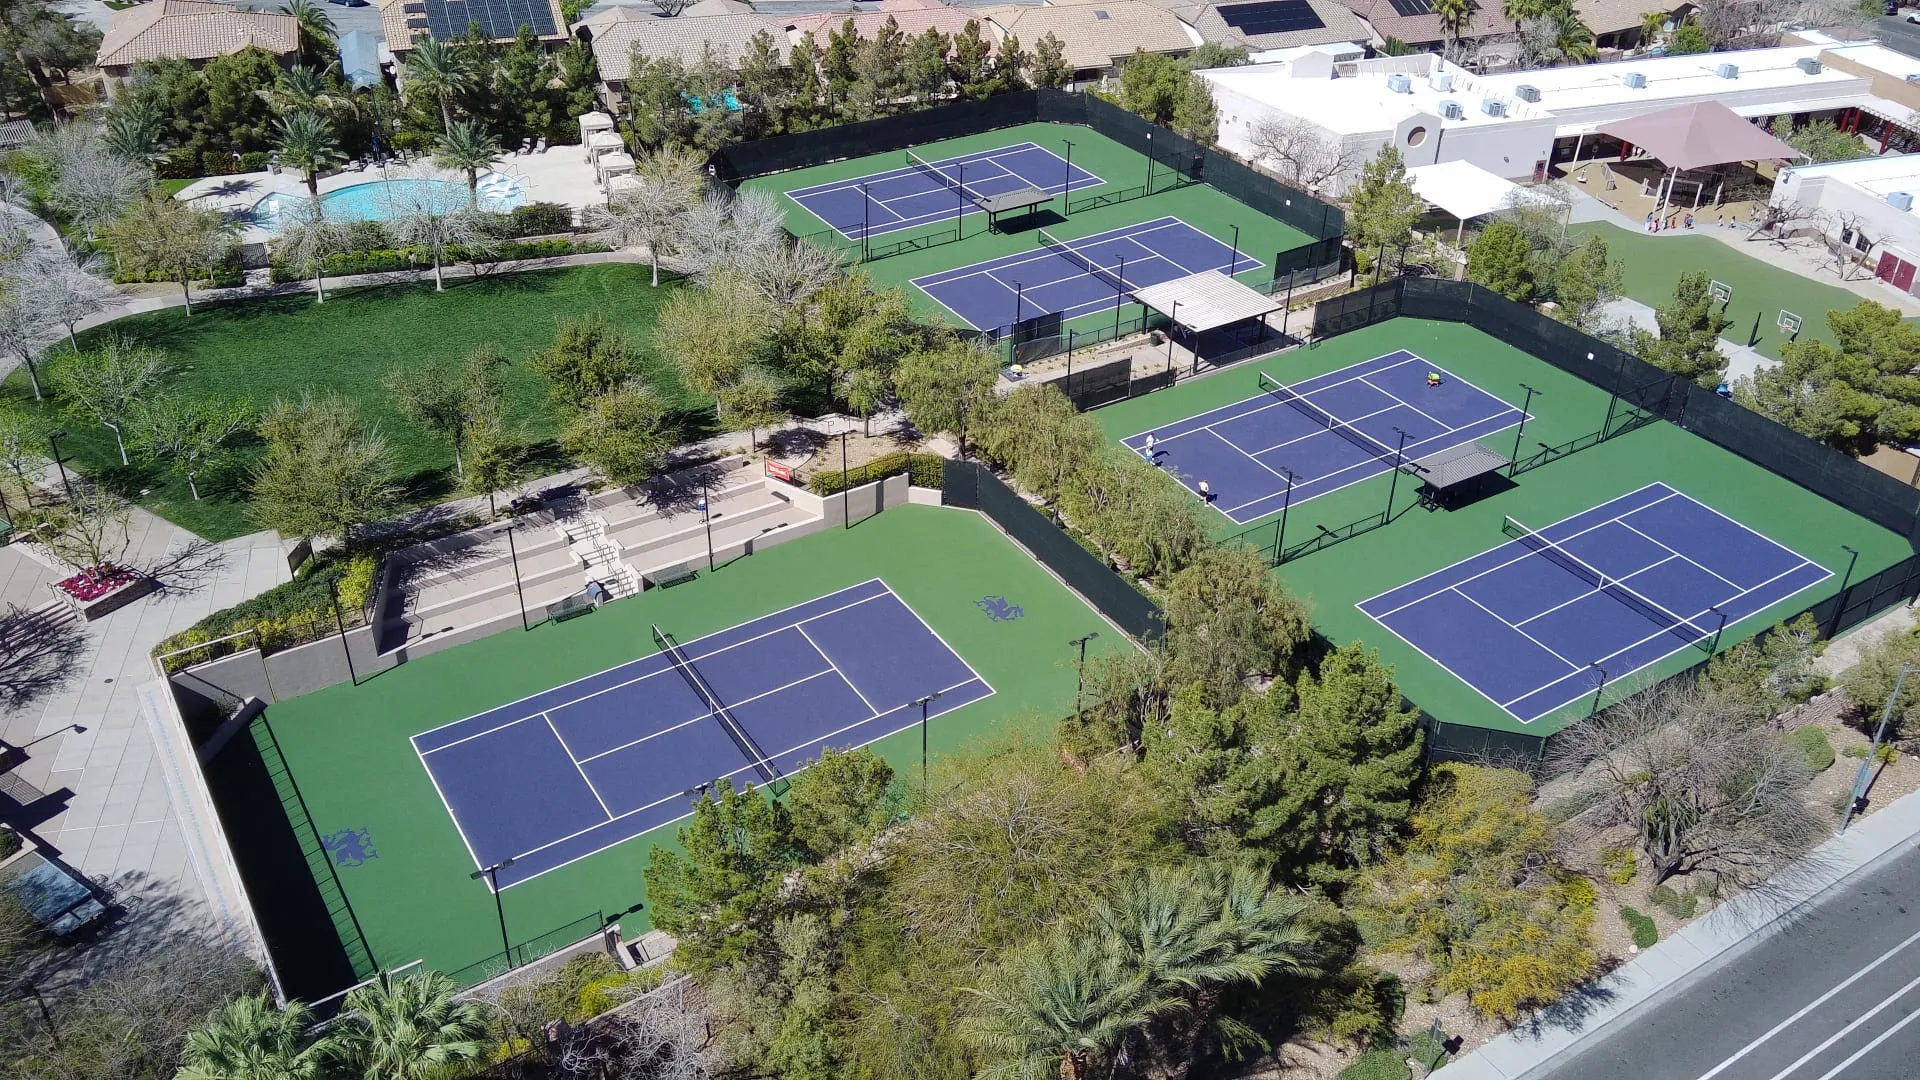
The result is a court that plays true and stands up to Nevada heat. The same coating system brings old courts back too: this pass shows a 10-court resurfacing at Lorenzi Park, from faded red and green to new blue and green. Ready to start? Request a free quote.
Forms and fence posts in place before the pour, Las Vegas.
Ready to plan your court?
Free written quotes across Southern Nevada.